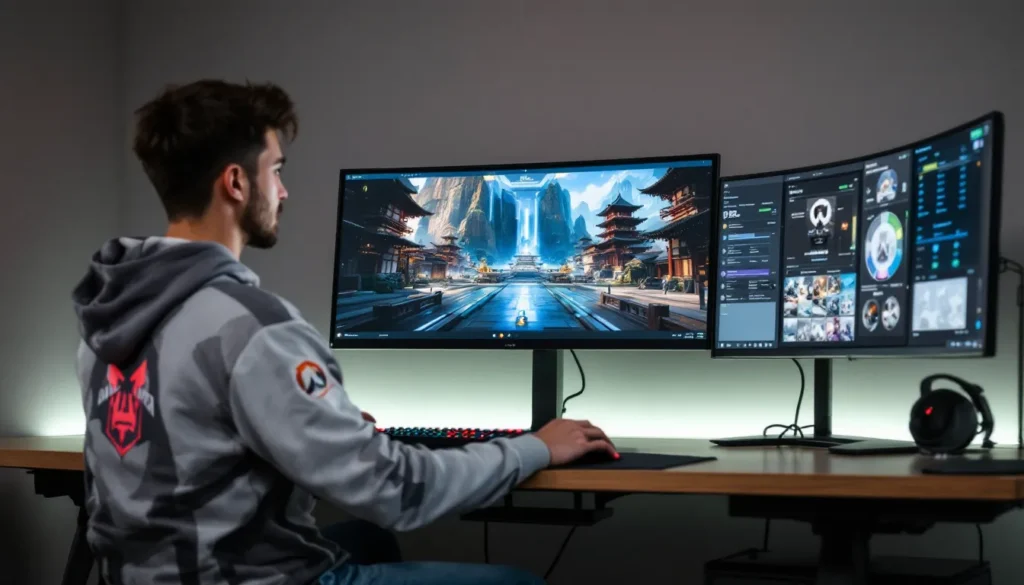

Streaming Overwatch isn’t just about mechanical skill anymore, it’s about presentation. Whether you’re grinding ranked matches on Twitch or creating YouTube content, a solid overlay separates casual streamers from professionals who command attention. An Overwatch overlay isn’t decorative fluff: it’s a critical tool that communicates key information (team compositions, ultimate charge, SR), reinforces your brand, and keeps viewers engaged during downtime. In 2026, the overlay landscape has evolved significantly, with tools ranging from dead-simple free solutions to fully customizable premium platforms. The right overlay can transform your stream from “looks like everyone else’s” to “that’s a setup I want to copy.” This guide walks through everything you need to know: what overlays actually do, which platforms deliver the best results, and how to install, customize, and troubleshoot without eating up your frame rate.
Table of Contents
ToggleKey Takeaways
- An Overwatch overlay is a graphics layer visible only to viewers that displays essential metadata like webcam feeds, alerts, game stats, and branding—without altering actual gameplay.
- A professional Overwatch overlay separates casual streamers from competitors by building visual consistency, driving audience engagement through alerts and interactive elements, and signaling legitimacy to sponsors and serious viewers.
- Choose overlays based on customization flexibility, compatibility with your streaming software (OBS Studio, Streamlabs OBS), minimal CPU performance impact, and ease of installation rather than flashy features.
- Install overlays using one-click solutions like Streamlabs for beginners, manual OBS installation for intermediate users, or HTML browser sources for advanced customization—always verify the overlay appears above your game capture in the source stack.
- Design game-focused overlays by keeping elements in corners or edges, using readable sans-serif fonts, matching Overwatch’s bold geometric aesthetic with high-saturation colors, and testing on actual hardware to avoid frame drops and readability issues.
- Start with free platforms like Streamlabs or StreamElements overlays, then experiment with customization once you understand viewer engagement patterns—remember that polished overlay presentation supports gameplay and retention, but talent and content quality remain paramount.
What Is An Overwatch Overlay?
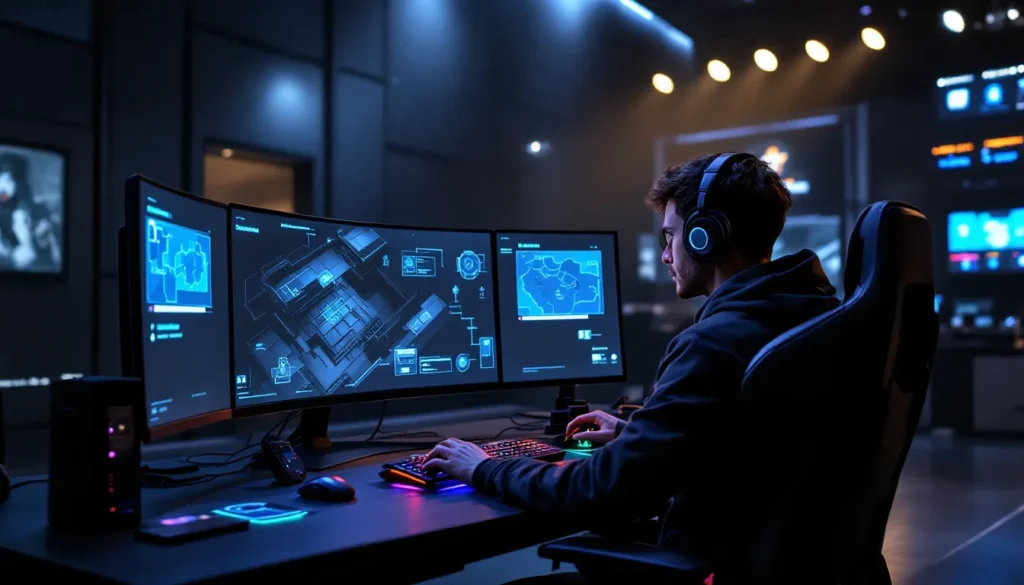
An Overwatch overlay is a graphics layer that sits on top of your game footage during streaming. It’s completely invisible to players in your game: only your stream viewers see it. Think of it as a digital frame that holds information and branding around your live gameplay.
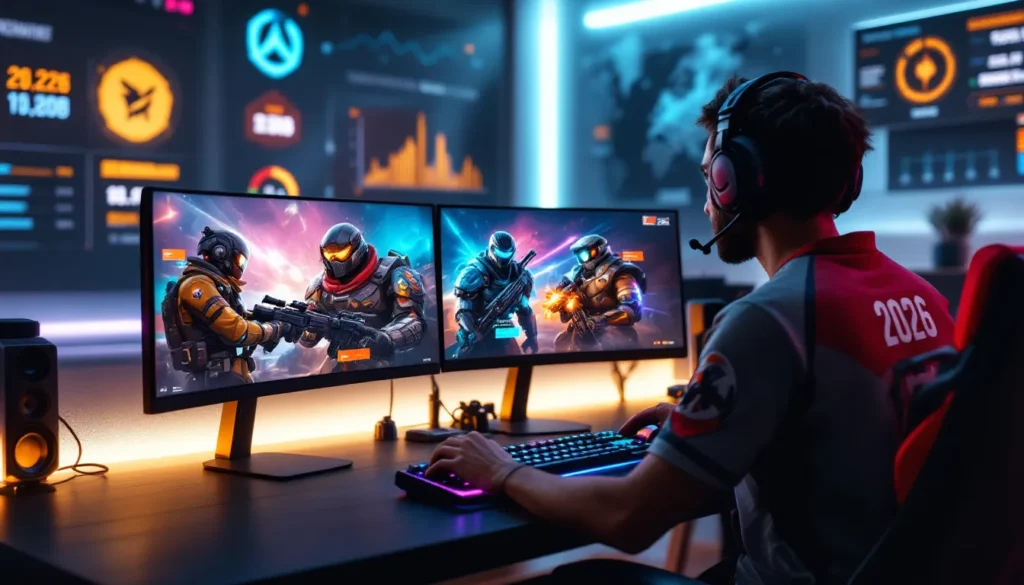
Overlays typically display essential streaming metadata: your webcam feed (usually in a corner), chat reactions, follower alerts, donation notifications, current song playing, and custom graphics that match your branding. For Overwatch specifically, overlays often include widgets that mirror in-game stats, ultimate percentages, team HP bars, objective progress, or even a “sweat meter” for entertainment.
The key distinction: overlays don’t alter the actual game. They’re a streaming software feature, not a mod or hack. If you’re using OBS Studio, Streamlabs OBS, or similar tools, overlays are the custom scenes and graphics you layer into your broadcast. Everything exists in your streaming software, not in Overwatch itself.
Why Overlays Matter For Streamers And Content Creators
Branding And Visual Consistency
Your overlay is your stream’s visual identity. It’s the difference between looking like a random person broadcasting and looking like a content creator who takes their craft seriously. Consistent branding, matching colors, fonts, logos, builds recognition. When someone flips between your stream and a competitor’s, they should immediately know they’re watching your content because the visual language is unmistakable.
A cohesive overlay reinforces your channel’s personality. Whether you’re running a chill casual vibe or high-energy competitive setup, the overlay design either supports that atmosphere or clashes with it. Colors, animations, and layout all contribute to viewer perception. Pro streamers invest heavily in custom overlay design for exactly this reason: it’s the first thing your audience processes.
Audience Engagement And Retention
Overlays aren’t just pretty, they’re functional engagement tools. Alerts for followers, subs, and donations aren’t just notifications: they’re dopamine hits for your audience. When someone sees their name pop up in a custom alert animation, they feel seen. That emotional connection drives retention and encourages repeat engagement.
Beyond alerts, overlays display real-time chat reactions, polls, and interactive elements that keep viewers invested even during slow gameplay moments. A well-designed overlay makes your stream feel like an event, not a passive broadcast. The visual feedback loop, viewer action triggers overlay animation, creates a feedback mechanism that other streamers’ boring setups simply don’t have.
Professional Appearance
Simple truth: professional-looking streams attract sponsors, collaborations, and serious viewers. Tournament organizers, gear manufacturers, and esports organizations notice production value. An overlay that looks polished signals competence, consistency, and that you’re running an actual operation, not just broadcasting from your garage (even if you are, honestly).
This matters even if you’re not chasing sponsorships. A professional overlay builds trust with your audience. It says, “I care enough about this to invest time and effort into presentation.” That perception translates to subscriber conversion and viewer retention. The overlay isn’t the entire story, but it’s one of the first pieces of evidence viewers use to judge your legitimacy.
Types Of Overwatch Overlays
Static Overlays
Static overlays are fixed graphics that don’t move or animate. They’re typically corner logos, watermarks, text panels, or scene separators that sit in the same position throughout your stream. Think: your channel name in a branded box at the bottom left, or your Twitch handle floating in the top right.
Static overlays are lightweight and reliable. They load instantly and demand virtually zero CPU resources, which matters if you’re streaming from a mid-range PC. The tradeoff is visual interest, static overlays don’t catch the eye the way animated elements do. They’re workhorses, not showstoppers.
Animated Overlays
Animated overlays bring motion: alerts that zoom in, backgrounds that subtly move, elements that scale or rotate when triggered. An alert animation might have your logo spinning, a follow notification could slide in from the edge, or your chat widget might pulse when messages arrive.
Animated overlays create energy and professionalism. They also demand more from your system. If you’re already pushing your CPU hard rendering Overwatch at 1440p 120fps, adding complex animations can introduce stuttering or frame drops. The sweet spot is smooth, purposeful animation, not janky or excessive. Modern platforms like Streamlabs offer pre-optimized animated overlays specifically designed to minimize performance impact.
Interactive Overlays
Interactive overlays respond to live events. Your chat types a command, and the overlay reacts. Emote rain when a major goal happens, special animations tied to chat messages, or real-time game data pulled directly from APIs (showing your SR, current winstreak, or enemy team composition).
Interactive overlays are the cutting edge. They require technical setup, integration with chat APIs, game stat APIs, or custom scripting. Not every streamer needs this level, but it’s accessible to anyone willing to spend an hour setting it up. Platforms like Streamlabs and StreamElements both support interactive overlays out of the box.
Minimal Overlays For Competitive Play
Competitive Overwatch streamers often reject busy overlays. When you’re grinding ranked or playing tournaments, screen clutter is the enemy. Viewers watching competitive play want to see the game, not flashy graphics.
Minimal overlays strip away everything except essentials: a small webcam feed, maybe a donation meter if you need it, and that’s it. Some top competitors run completely clean, no overlay at all except for gameplay stats. This approach works if your skill level is the draw, not your production value. Viewers tune in to watch you play, not to admire your layout.
Essential Features To Look For In An Overlay
Customization Options
A good overlay is flexible. You should be able to change colors, resize elements, reposition widgets, and swap assets without rebuilding from scratch. Some platforms offer drag-and-drop editors: others require editing config files or XML. Drag-and-drop is faster, but technical setups often provide more granular control.
Look for overlays that let you adjust transparency, animation speed, fonts, and alignment. You want the ability to match your branding exactly, not compromise your vision to fit the overlay’s limitations.
Compatibility With Streaming Software
Not all overlays work with every streaming software. OBS Studio, Streamlabs OBS, Xsplit, and SLOBS all have different compatibility requirements. Some overlays are proprietary (only work with one platform): others are universal (work anywhere).
Before committing, verify compatibility with your actual streaming setup. A beautiful overlay that doesn’t work with your software is worthless. Most modern platforms support OBS Studio and Streamlabs, so start there.
Performance And Load Times
Heavy overlays tank performance. If adding an overlay causes frame drops, it’s counterproductive. Test overlays on your actual hardware before going live. Pay attention to CPU usage when the overlay is active, especially during alert triggers (those are the most demanding).
Optimized overlays use efficient coding, avoid unnecessary animations, and load assets efficiently. They should add minimal overhead, ideally less than 5% CPU impact.
Ease Of Installation
Installation ranges from “drag-and-drop” to “clone the GitHub repo and edit the manifest.” If you’re not technical, pick overlays with straightforward installation. Platforms like Streamlabs handle most of the heavy lifting automatically. Custom overlays or third-party solutions might require manual setup.
Check if the platform offers clear documentation and YouTube tutorials. A well-designed overlay platform explains setup in plain language, not jargon.
How To Install And Set Up Your Overwatch Overlay
Step-By-Step Installation Guide
For Streamlabs OBS (the easiest option):
- Open Streamlabs OBS and navigate to the Overlays section.
- Browse the overlay library and select one that matches your style.
- Click “Install Overlay.”
- Confirm the source and click “Yes” to add it to your scene.
- The overlay is now part of your active scene, you’ll see it in the preview window.
For OBS Studio (manual method):
- Download your overlay file (usually a .png, .psd, or .html file).
- Open OBS and create a new scene or edit an existing one.
- Add a new source: click the “+” under Sources, select “Image” or “Image Slide Show” depending on the overlay type.
- Browse to your downloaded overlay file and confirm.
- Resize and position the overlay in your canvas using the transform tools.
- Layer it above your game capture source so it displays on top.
For custom/HTML overlays:
- Download the overlay files and extract them to a folder on your PC.
- In OBS, add a new source and select “Browser.”
- Point the browser source to the overlay’s HTML file.
- Adjust width and height to match your stream resolution (usually 1920×1080 for 1080p streaming).
- Test in a practice scene before going live.
Verify that your overlay appears above your game capture, not below it. If it’s hidden, right-click the overlay source and select “Arrange” → “Bring to Front.”
Configuration And Customization Tips
Most overlays expose configuration files (often JSON or XML) that let you tweak behavior without editing code. Open these files in a text editor and look for obvious settings: colors (usually hex codes like #FF6B35), animation speed (milliseconds), opacity (0-100), and element positions (pixel coordinates).
Start with small changes. Modify one color at a time, save, and refresh in OBS to see the result. That iterative approach beats guessing.
For Streamlabs overlays, use their in-app customizer. Drag elements around, change colors with a color picker, and toggle animations on/off. The visual editor is intuitive enough that most changes take seconds.
Test your overlay with actual gameplay footage. Static testing is useless: you need to see how the overlay looks during intense fights, when alerts are firing, and when text is updating. Stream to a private YouTube unlisted video or Twitch VOD to check it live.
Troubleshooting Common Issues
Overlay not appearing:
Verify it’s above your game capture in the source stack. Click the overlay source and check that it’s not set to “Hidden.” If using a browser source, confirm the HTML file path is correct and the file hasn’t been moved.
Overlay appears but alerts don’t fire:
Check that Streamlabs (or your alert service) is connected to your overlay. Some overlays require separate API authentication for alerts to work. Verify in Streamlabs settings that alerts are “enabled” and that the overlay is set as the active alert destination.
Performance drops when overlay is active:
Disable animations temporarily to isolate the cause. If performance improves, you’ve found the culprit. Replace the animated overlay with a lighter version or reduce animation complexity. Some overlays include a “performance mode” toggle, enable it if available.
Overlay looks blurry or stretched:
Make sure the overlay resolution matches your stream resolution. If your stream is 1920×1080 but the overlay is 1280×720, it’ll scale awkwardly. Resize the overlay in OBS or edit the source file to match your stream resolution.
Transparency not working:
Some overlay formats don’t support transparency. PNG files with alpha channels work: JPEGs don’t. If your overlay has a solid background where you wanted transparency, re-export it as PNG with transparency enabled.
Top Overlay Platforms And Resources
Free Overlay Solutions
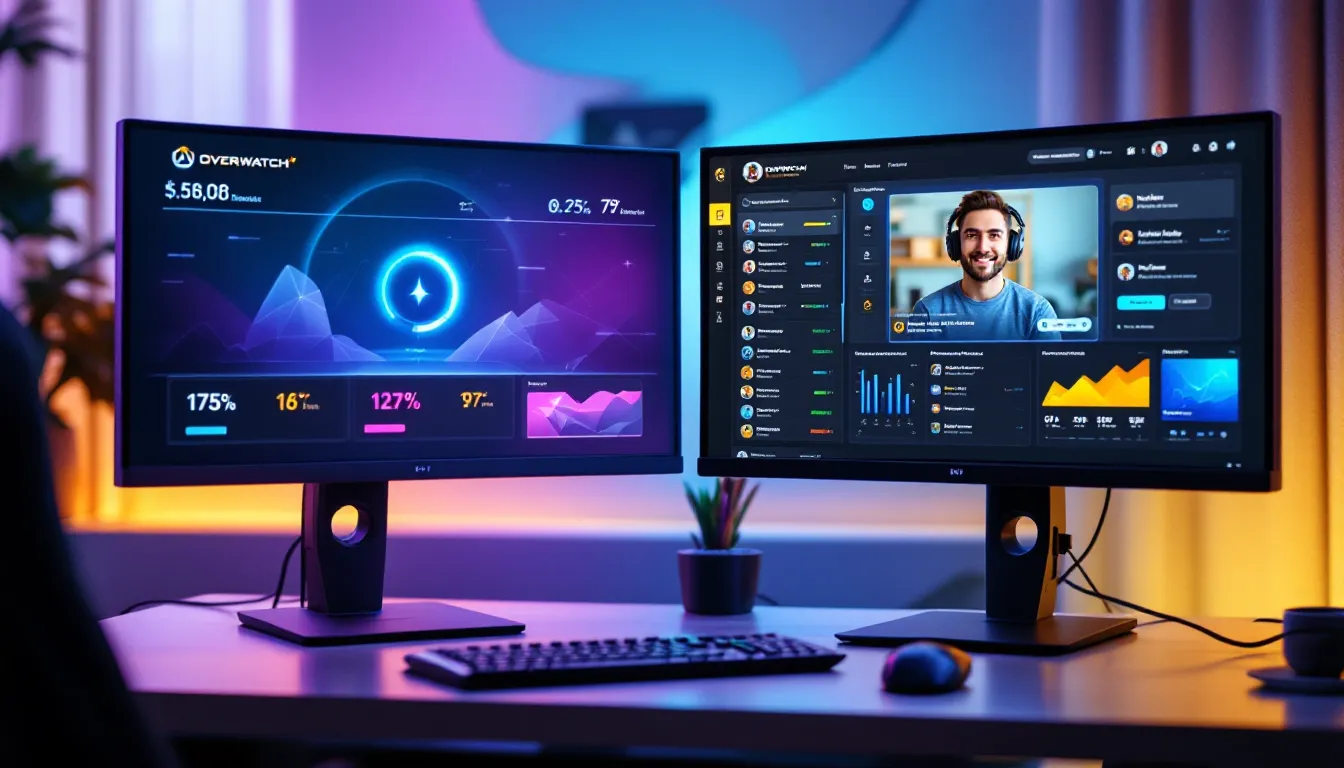
Streamlabs Overlays, The easiest entry point. Streamlabs has a massive free overlay library organized by game, style, and streamer personality. One-click installation, integrated alert animations, and zero setup friction. The free tier includes hundreds of professional-quality overlays. The tradeoff: less customization than premium solutions, and you’re locked into Streamlabs ecosystem.
StreamElements Overlays, Similar to Streamlabs but with slightly better customization options in the free tier. StreamElements’ overlay editor is more intuitive for non-technical users. Their library is smaller than Streamlabs but focused on quality. Good choice if you want flexibility without paying.
OBS Overlays (Community), Search GitHub, DeviantArt, or Gumroad for free OBS overlays made by community designers. Quality varies wildly, but hidden gems exist. Requires manual installation but zero cost. Best for users comfortable with file management.
Premium Overlay Tools
Streamlabs Premium, The paid tier unlocks fully customizable overlays, priority support, and exclusive alert animations. If you’re serious about branding, Premium’s worth considering. Costs run $5-15/month depending on plan.
StreamElements Pro, Similar premium model to Streamlabs. StreamElements’ strength is their overlay builder, one of the best drag-and-drop editors available. If custom design matters more than content libraries, StreamElements edges ahead.
Nerd or Die, Specializes in high-quality, gaming-focused overlays. Many are free: premium ones run $10-25 one-time purchase. Nerd or Die designs are visually distinct and professional. Their Overwatch-specific overlays are some of the cleanest available.
Visuals By Impulse, Boutique overlay designer with a portfolio of custom work. High-end, custom overlays start around $100+. Overkill for casual streamers, but agencies and esports orgs use them.
Community Favorites For Overwatch
The Overwatch streaming community gravitates toward overlays that enhance without cluttering. Popular choices include:
- Nerd or Die’s Overwatch Starter Pack, Specifically designed for Overwatch with ultimate charge displays and team composition widgets.
- Streamlabs’ “Competitive Gaming” category, Filters overlays designed for ranked/esports, filtering out overly decorative options.
- Custom OBS overlays by @[streamer name], Top Overwatch streamers often release their overlay designs. Search your favorite streamers’ repos or Discord communities for free downloads.
Reddit’s r/Overwatch and r/Twitch both have threads where streamers share overlay recommendations. Newer communities like Discord servers dedicated to streaming often have pinned resources.
Designing A Custom Overlay For Overwatch
Best Practices For Game-Focused Design
Overwatch is a fast-paced FPS. Your overlay must not distract from gameplay. The cardinal rule: critical game information (health, ammo, objectives) stays visible, but decorative elements should never obscure it.
Keep overlays in corners or edges of the screen. Top-left for a chat widget, bottom-right for alerts, bottom-left for stats. Never place overlays center-screen where they’d block sightlines. Streamers playing ranked specifically want minimal overlay presence: consider a toggle that hides non-essential elements during competitive matches.
Use readable fonts at streaming resolution. Thin, stylized fonts look nice in static images but become unreadable at 1080p when watching on a phone. Opt for sans-serif fonts (Arial, Montserrat, Inter) with sufficient size, 16pt minimum for body text.
Contrast is crucial. If your overlay background is dark, use light text. If text overlays a game texture, add a subtle shadow or outline so it’s readable over any background. Test readability by watching your stream VOD on multiple devices.
Color Schemes And Themes That Match Overwatch Aesthetics
Overwatch’s visual language is bold, geometric, and futuristic. The game uses high-saturation colors: bright blues, oranges, golds, and team colors (red vs blue). Match that energy in your overlay.
Safe color combinations for Overwatch overlays:
- Dark theme (pro competitive look): Black or dark gray background (#0A0E27 or similar) with bright accent colors (neon blue, cyan, orange). Add subtle glows to match Overwatch’s energy aesthetic.
- Light theme (casual, content-creation look): White or light gray background (#F5F5F5) with saturated accent colors. Overwatch gold (#FFB03B) works beautifully as a highlight.
- Team color theme: Use your main’s color identity. Reinhardt mains might favor gold and steel blue: Tracer mains might use hot pink and cyan.
Bold, geometric shapes echo Overwatch’s design language. Hexagons, sharp angles, and clean lines feel more “Overwatch” than soft curves. If you’re using your team logo or personal branding, ensure colors complement, not clash with, your accent choices.
Animations should match pacing. Overwatch is fast: sluggish animations feel wrong. Quick transitions (300-500ms) feel more appropriate than slow, gentle fades. Reference Overwatch’s hero trailers for animation timing inspiration.
Keeping Elements Organized And Non-Intrusive
Organization prevents visual chaos. Group related elements: put all chat-related widgets together, all alerts in one corner, all gameplay stats in another. Hierarchy matters. Essential info should be prominent: secondary elements should fade into the background.
Use opacity strategically. Webcam feeds work at 85-90% opacity (slightly transparent so they don’t feel like a hole in your broadcast). Chat widgets can be 75-80% opacity. Static logos can be 50% opacity so they’re visible but not intrusive.
Whitespace is your friend. Don’t fill every inch of the screen with elements. Empty space actually makes your overlay look more professional and keeps focus on gameplay. Cramped overlays feel chaotic: spacious overlays feel intentional.
Test interaction density. If alerts trigger frequently during gameplay, viewers will experience alert fatigue. Consider coalescing alerts (showing multiple events in one animation) or using quieter notification styles (subtle corner pulses instead of full-screen animations).
Carry out a “clean” mode. Provide a way to toggle visibility of non-essential elements. Top Overwatch streamers often run “clean” overlays during competitive play and “full” overlays during casual streams. This flexibility keeps your setup adaptable.
Overlays For Different Streaming Platforms
Twitch-Specific Overlay Considerations
Twitch’s bitrate and resolution standards shape overlay decisions. Most Twitch streamers target 1920×1080 at 6000 kbps. Overlays that look crisp at this resolution might look soft at lower bitrates.
Twitch’s native integrations are crucial. Overlays that hook into Twitch’s EventSub API (Twitch’s native event system) feel more native than third-party alert services. Streamlabs and StreamElements both integrate deeply with Twitch, so alert firing is instant and reliable.
Channel points are Twitch-specific. If you’re using channel points for redemptions (custom alerts, chat commands, etc.), your overlay needs to reflect those visually. Streamlabs handles this automatically: custom overlays need manual configuration.
Chat rendering differs between platforms. Twitch chat is fast and dense. If your overlay displays live chat, expect high message volume during popular streams. Test chat performance before going live to ensure your overlay can handle the throughput without slowing down.
YouTube Gaming Overlay Optimization
YouTube Gaming (now called YouTube Live) has different audience behavior than Twitch. Viewers tend to be younger, more casual, and more engaged with interactive elements. Overlays can be slightly busier on YouTube without feeling overwhelming.
YouTube’s resolution is flexible. While 1080p is standard, YouTube supports 720p and even 480p streams without quality penalty. If you’re streaming at 720p, ensure overlay text remains readable. Smaller font sizes become problematic at lower resolutions.
Superchats and memberships are YouTube’s monetization. Unlike Twitch channel points, these are one-way transactions. Overlay alerts for Superchats should be prominent and celebratory, viewers are spending money, and they deserve recognition.
YouTube’s recommendation algorithm favors watch time and click-through-rate. Interactive overlays (polls, click-to-action buttons) can boost engagement metrics. If your overlay includes clickable elements (like stream-to-YouTube buttons), viewers respond better.
Discord Streaming With Overlays
Discord streaming is lower-bandwidth and lower-stakes than Twitch or YouTube. Overlays can be experimental here without compromising professionalism.
Resolution on Discord maxes at 1080p, but Discord’s video player is smaller than dedicated streaming platforms. What looks good on a full-screen Twitch view might appear cramped on Discord. Test overlays in Discord’s native viewer before going live with friends.
Discord audiences are community-focused. Overlays that highlight community (showing Discord member names, server branding) perform better than generic alerts. Customize overlays to reference your Discord server and make viewers feel like insiders.
No official Discord overlay standards exist (unlike Twitch’s EventSub). Many Discord streamers run the same OBS setup as their Twitch broadcasts, but you can get creative. Some build Discord-specific overlays that emphasize server culture and inside jokes.
Conclusion
An Overwatch overlay transforms your stream from functional to professional. Whether you’re using free Streamlabs templates or building a custom design from scratch, the key principles remain constant: don’t sacrifice gameplay visibility, stay true to Overwatch’s aesthetic, and match your platform’s technical requirements.
Start simple. Pick a free overlay from Streamlabs or StreamElements, install it, and test live. Once you understand how overlays work and what your audience responds to, experiment with customization. Many successful streamers start with templates and gradually tweak them into something personal.
Remember that an overlay is infrastructure, not talent. A beautiful setup won’t carry a weak stream, but solid production value supports good gameplay and keeps viewers engaged. The best overlay is one that’s invisible to the viewer, they notice the game and the personality, not the graphics.
As streaming evolves, overlays will too. Newer platforms are experimenting with integrated widgets, AI-generated graphics, and real-time game data visualization. Stay curious, iterate on your design, and don’t be afraid to overhaul your overlay if it’s not working. The streamers with the most polished presentations are the ones constantly refining their setup.