Ever wondered how to take apart your Xbox Series X without feeling like you’re attempting a NASA mission? You’re in luck. This guide is expertly crafted for the DIY enthusiast looking to explore the tech inside their console. Let’s dig in, but don’t worry, you’re not going to need a degree in engineering. Just a dash of patience and a sprinkle of curiosity is all you need to safely navigate the inner workings of this powerful machine.
Necessary Tools and Preparation
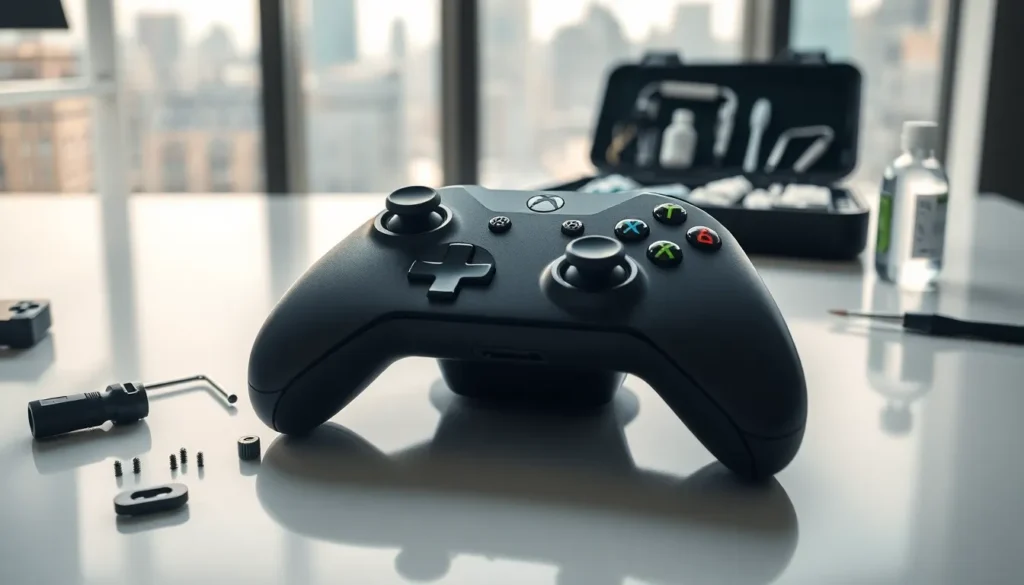
Before diving into the world of screws and circuits, gather your tools. Here’s what you’ll need:
- Screwdriver Set: A precision screwdriver set with Torx bits will be your best friend. The Xbox Series X uses T8 and T10 screws, so make sure those are on hand.
- Plastic Spudger: This handy tool helps you pry open the shell without damaging it. Think of it as your gentle giant for disassembly.
- Anti-Static Wrist Strap: To prevent static electricity from ruining your day, wearing one of these can save your components from potential damage. 4. Container for Screws: A magnetic dish or small container will keep screws in one place, preventing unintentional floor naps.
- Soft Surface: A clean, soft workspace can help avoid scratches on your console’s exterior.
Getting everything ready will make the process smooth sailing.
Safety Precautions
Safety first, right? It’s not just a catchy phrase: it’s essential. Here are some important safety measures to consider:
- Unplug Everything: Before starting, ensure your console is completely disconnected from any power sources. Turn it off and pull the plug. Plugging in when disassembling spells disaster.
- Work in a Well-Lit Area: Shadows can hide more than they reveal. Bright light will help you spot tiny screws and components, making the process easier.
- Avoid Force: If something doesn’t budge, don’t force it. Using too much strength can easily lead to breaks and tears in the plastic. Have patience instead.
- Keep Food and Drink Away: Nothing spells danger quite like a spilled drink near electronics. Avoid ruining your project with a slippery mishap.
Following these tips can help keep both you and your Xbox Series X safe during the journey.
Step-by-Step Disassembly Guide
Ready to get your hands dirty? Here’s the breakdown of how to disassemble the Xbox Series X:
Removing the Outer Shell
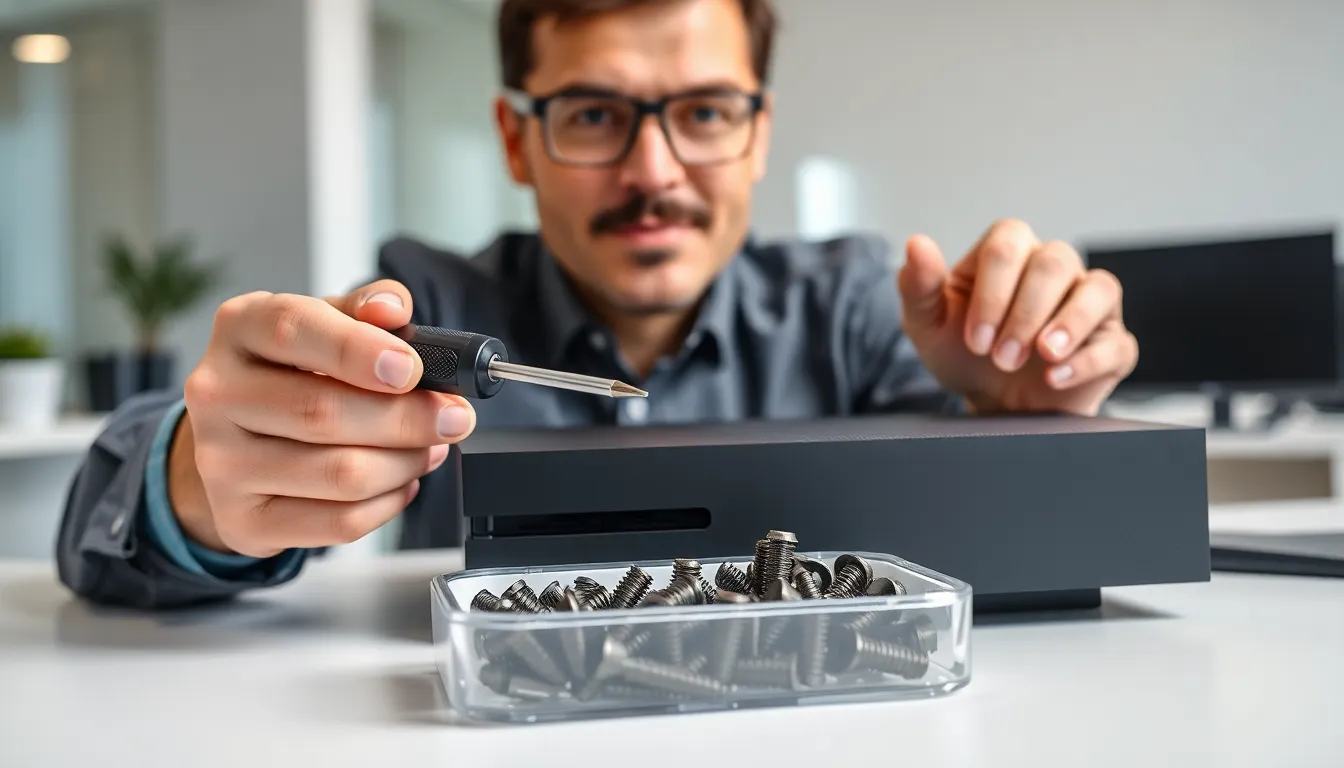
- Locate the Screws: Start by flipping your console upside down. You’ll notice rubber feet, they cover screws. Gently pry them off using your spudger or fingernails.
- Unscrew the Shell: Using your precision screwdriver, remove the screws. Be cautious: misplacing these can turn into a headache later.
- Pry Open the Shell: Carefully slide the spudger under the corner of the console. With gentle pressure, lift the shell until it pops off. Don’t rush. This can be tricky and requires ginger handling.
Accessing Internal Components
- Locate the Internal Fasteners: After removing the outer shell, there will be more screws holding the metal casing together. Unscrew these carefully.
- Understand the Layout: Take a moment (or a photo) to understand how everything fits together. This will make reassembly easier later.
Disconnecting Cables and Parts
- Identify Cables: You’ll see various cables connecting different parts. Make sure you remember what goes where. It’s like a game of Tetris at this point.
- Release the Connectors: Gently release each connector. They might need a little wiggling. Never pull on the cables directly: this can lead to tears.
Tips for Safely Handling Components
Handle your Xbox’s internal components like they’re super fragile (because they are.). Here are some useful tips:
- Keep a Steady Hand: Shaky hands can lead to dropping or damaging components. Stay relaxed and breathe.
- Avoid Touching the Circuit Boards: Oils from your fingers can cause damage. Always handle by the edges.
- Be Mindful of Heat Syncs: These components can be particularly sensitive. When reassembling, make sure they are firmly back in place to avoid overheating later on.
Reassembly Process
Reassembly is just as crucial as disassembly. Follow these steps to get your Xbox Series X back in shape:
- Reconnect All Cables: Start by reconnecting all cables according to that handy picture you took earlier. This will save you from a puzzling reattach-down-the-line situation.
- Secure the Internal Components: Refasten screws on the internal casing to ensure everything is snug and secure.
- Put the Outer Shell Back: Align the shell correctly and gently press down until it clicks in place.
- Screw Everything Back Together: Replace all the screws you set aside and snap the rubber feet back into position. And voilà, your console is as good as new.