
Getting your Xbox controller connected to your Xbox One should be straightforward, but sometimes the process trips up both new players and veterans alike. Whether you’re setting up for the first time, adding a second controller for co-op, or troubleshooting a stubborn connection, understanding the different methods available makes all the difference. This guide covers every connection method, from wireless pairing to wired USB setup, along with practical troubleshooting steps and optimization tips that’ll have you gaming without a hitch. By the end, you’ll know exactly how to connect Xbox controller to Xbox One and keep it working smoothly.
Table of Contents
ToggleKey Takeaways
- Connect Xbox controller to Xbox One wirelessly using the pairing button method—hold the controller’s pairing button for 3-5 seconds, then press the console’s pairing button, and they’ll sync within 20 seconds.
- Use a USB cable (Micro-USB for standard controllers, USB-C for newer models) for wired connections when you need ultra-low latency or have drained batteries, though batteries still must be installed even when plugged in.
- Resolve connection issues by restarting your console, checking battery levels, clearing pairing history, and updating your controller firmware through Settings > Devices & Connections > Accessories.
- Prevent disconnections and interference by positioning your console centrally, moving wireless devices like routers away from your gaming setup, and maintaining a clear line of sight within the 20-foot Xbox Wireless range.
- Support up to four controllers simultaneously by pairing each individually in sequence, spacing them out to avoid wireless signal collisions, and ensuring all controllers are running the latest firmware version for compatibility.
Understanding Xbox Controller Compatibility and Connection Methods
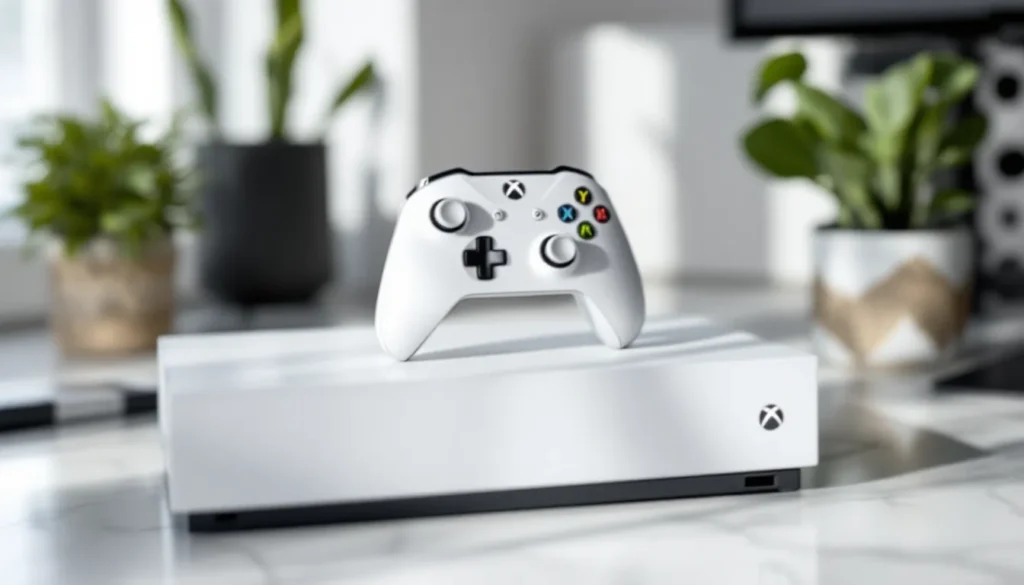
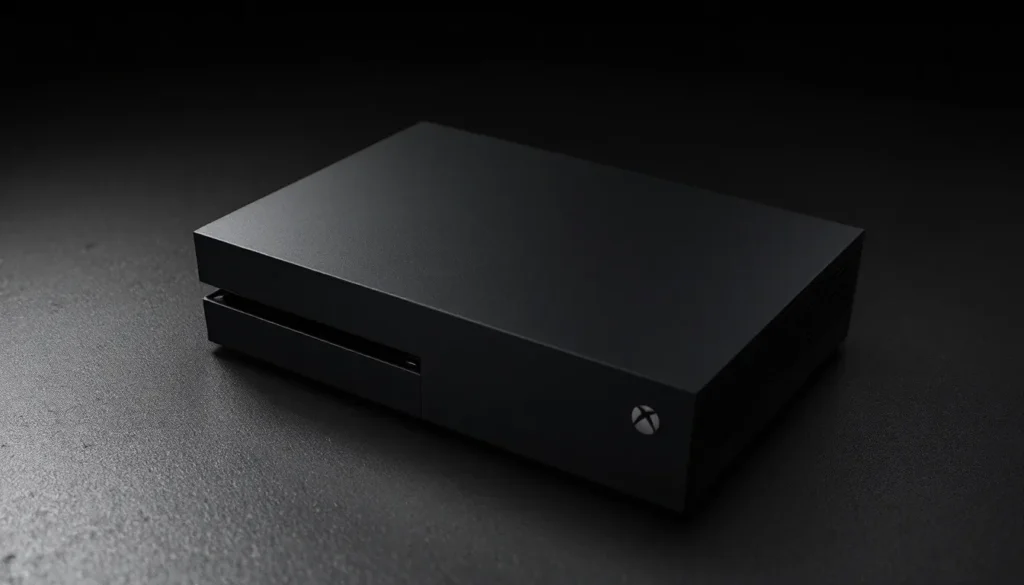
Not all Xbox controllers work the same way. The standard Xbox One controller, released in 2013, connects via the Xbox Wireless protocol, a proprietary 2.4GHz connection exclusive to Xbox devices. This is different from standard Bluetooth, even though newer Xbox controllers support both.
You have two primary ways to connect an Xbox controller to Xbox One: wireless and wired. Wireless uses Xbox Wireless, the faster and more stable option for most setups. Wired connection requires a USB cable (usually Micro-USB for standard controllers or USB-C for newer models) and is useful when batteries are dead or you want guaranteed low-latency performance for competitive gaming.
The Xbox One S and Xbox One X both support identical connection methods. If you’re using an Xbox Elite Controller or any newer Xbox controller variant, the same principles apply. But, third-party controllers may have different pairing procedures, always check the manufacturer’s documentation if you’re not using an official Microsoft controller.
Microsoft released updated controller firmware throughout 2024-2025, so if you haven’t paired your controller in a while, you might need a firmware update before it’ll work properly. The connection process itself, though, has remained consistent since the Xbox One’s 2013 launch.
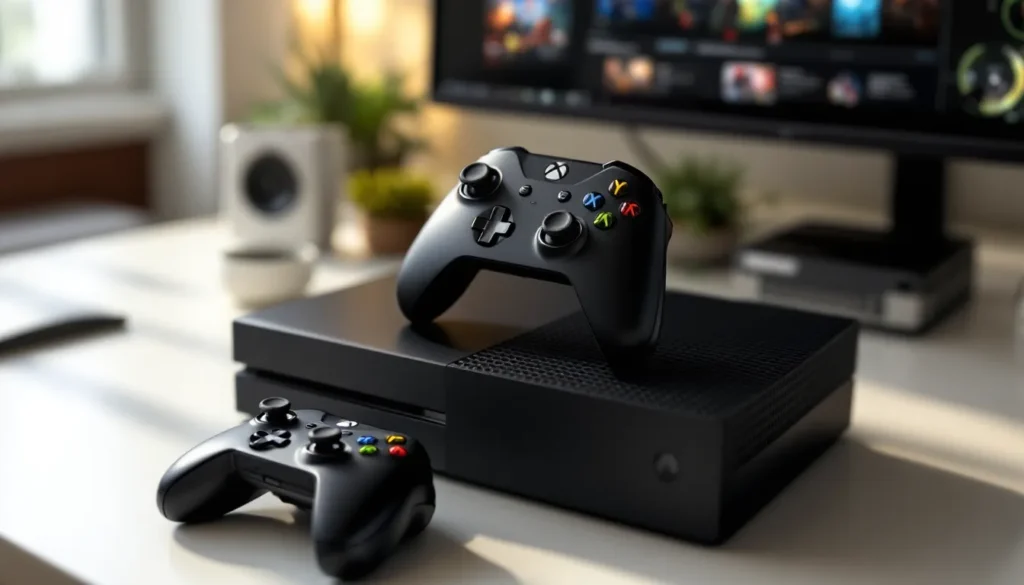
Wireless Connection via Xbox Wireless Protocol
Wireless connection is the standard way gamers connect controllers to Xbox One. The Xbox Wireless protocol offers a stable, low-latency connection with a range of about 20 feet, making it perfect for living room gaming.
Using the Pairing Button Method
This is the fastest way to get a new controller up and running:
- Locate the pairing button on your controller. It’s a small circular button on the back, near the top. You’ll feel a slight indent.
- Hold the pairing button for 3-5 seconds until the Xbox button on the controller begins flashing. This indicates pairing mode is active.
- On your Xbox One console, press the Xbox button on the console itself (it’s on the front panel) and hold it for 3 seconds until the light on the console starts flashing.
- Wait 10-20 seconds. The controller will vibrate and the Xbox button will stop flashing when the pairing is complete.
If the pairing button method doesn’t work on first try, make sure your console and controller are within 10 feet of each other and away from sources of interference like microwaves or wireless routers. Walls and obstacles can weaken the signal, so position them with a clear line of sight.
Connecting Through Xbox Settings Menu
If you prefer a menu-based approach or the pairing button method didn’t work:
- Power on your Xbox One and sign in with your account.
- Press the Xbox button on your controller to open the guide menu.
- Navigate to Settings > Devices & Connections > Accessories.
- Select Add an Accessory.
- Put your controller into pairing mode by holding the pairing button for 3-5 seconds.
- The console will scan and detect the controller within 30 seconds. Select it from the list when it appears.
- Confirm the pairing when prompted.
This method works especially well when you’re adding a second or third controller to your setup. The menu also shows your current controller’s battery level, which is handy for monitoring power usage.
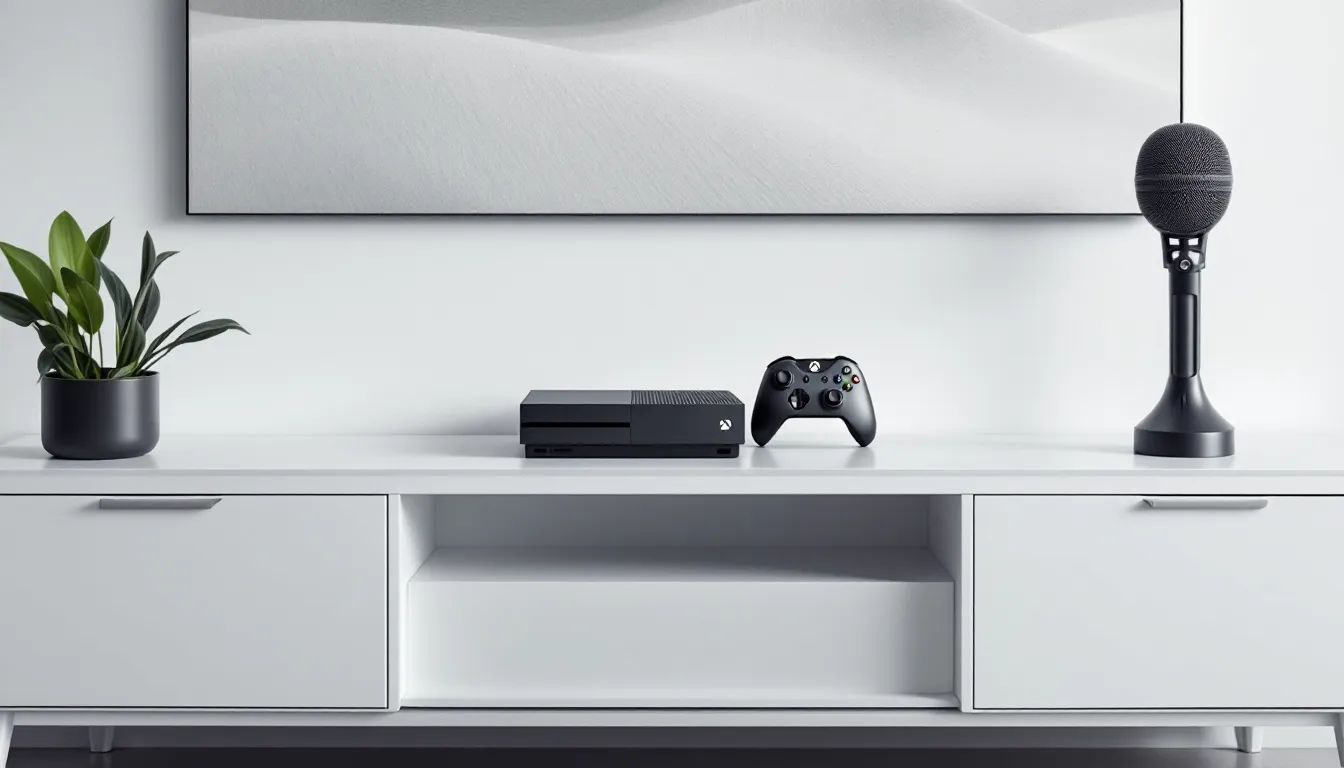
USB Wired Connection Setup
Wired connections are underrated for certain situations. If your controller batteries are drained or you want guaranteed ultra-low latency for competitive play, a USB cable is your answer.
What You’ll Need:
- A Micro-USB cable (standard Xbox One controllers) or USB-C cable (newer controllers)
- A free USB port on your Xbox One console
Steps:
- Connect one end of the USB cable to your controller’s charging port (usually located on the bottom).
- Connect the other end to any available USB port on the Xbox One. The console has USB ports on both the front and back.
- The Xbox should automatically recognize the controller. No pairing button needed, just plug and play.
- You’ll see the Xbox button light up within a few seconds, indicating the controller is connected.
One key point: wired controllers still need batteries installed even when plugged in via USB. The USB cable provides charging and stability, but the Xbox controller architecture requires batteries for full functionality. This is different from some PlayStation controllers.
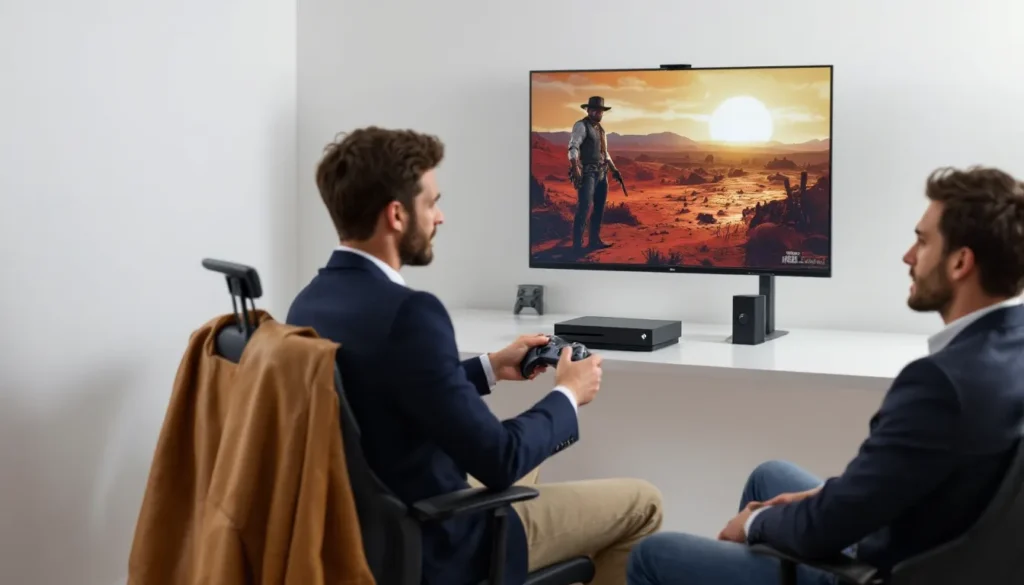
Wired connections are ideal for esports players who want to eliminate any potential wireless interference or latency variance. The Xbox One Ports guide covers all available connection options on your console in detail. For couch co-op gaming where both players need controllers, keeping one wired and one wireless gives you flexibility without sacrificing comfort.
Troubleshooting Connection Issues
Connection problems are frustrating, but most are solvable with a few quick checks.
Controller Not Detected or Responding
If your Xbox One doesn’t recognize the controller at all:
- Restart everything. Power off the console completely, then power it back on. This clears temporary connection glitches.
- Check the batteries. Make sure your controller has fresh AA batteries or is fully charged if it’s a rechargeable model. A weak battery causes detection failures.
- Clear the pairing history. On your Xbox, go Settings > Devices & Connections > Accessories, find the unresponsive controller, and select Remove Controller. Then try pairing again from scratch.
- Reset the controller. Locate the small reset button on the back of the controller (it’s inside a small hole). Use a straightened paperclip or pin to press it for 5 seconds. This performs a factory reset without erasing any settings.
If you’re adding a second or third controller and it’s not showing up, make sure the previous controllers are already successfully paired. The Xbox One has a limit, but it supports up to four controllers simultaneously.
Disconnection and Reconnection Problems
Controllers that disconnect randomly or need constant reconnection indicate interference or signal loss:
- Move closer to the console. Wireless range is about 20 feet, but obstacles like thick walls or metal furniture reduce it significantly. Test by sitting closer.
- Check for interference. 2.4GHz wireless routers, microwave ovens, and cordless phones operate on the same frequency as Xbox Wireless. Move these devices away from your gaming setup or change your router’s wireless channel in its settings.
- Update your controller firmware. Connect the controller via USB cable to your Xbox One and go to Settings > Devices & Connections > Accessories > Controller Firmware. If an update is available, install it immediately. Outdated firmware from 2023-2024 sometimes causes intermittent drops on 2025+ consoles.
- Avoid USB hubs. If you’re using a wired connection, plug directly into the Xbox One’s USB port, not through an external hub. Hubs can introduce latency or cause connection stability issues.
If disconnections persist after these steps, your controller may have hardware issues. Third-party controllers from retailers like GameStop Xbox One controllers sometimes have firmware compatibility issues with the latest Xbox One system software. Official Microsoft controllers rarely have this problem.
Battery and Power-Related Issues
Power problems are one of the most common causes of connection failures:
- Replace batteries monthly. Even if your controller still works, low voltage causes connection instability before the controller fully dies. Xbox Controller battery size options vary, but standard AA batteries last 2-3 months with daily gaming.
- Check battery terminals. Open the battery compartment and look at the metal contacts. If they’re corroded or dirty, clean them gently with a dry cloth. Corroded terminals block power flow.
- Recalibrate the battery meter. If your Xbox shows low battery but the controller works fine, or shows full battery but it dies suddenly, go to Settings > Devices & Connections > Accessories, select your controller, and choose Recalibrate.
- Swap batteries between controllers. If one controller works fine but another doesn’t, test the “bad” controller with fresh batteries from the working one. This isolates whether the problem is the batteries or the controller.
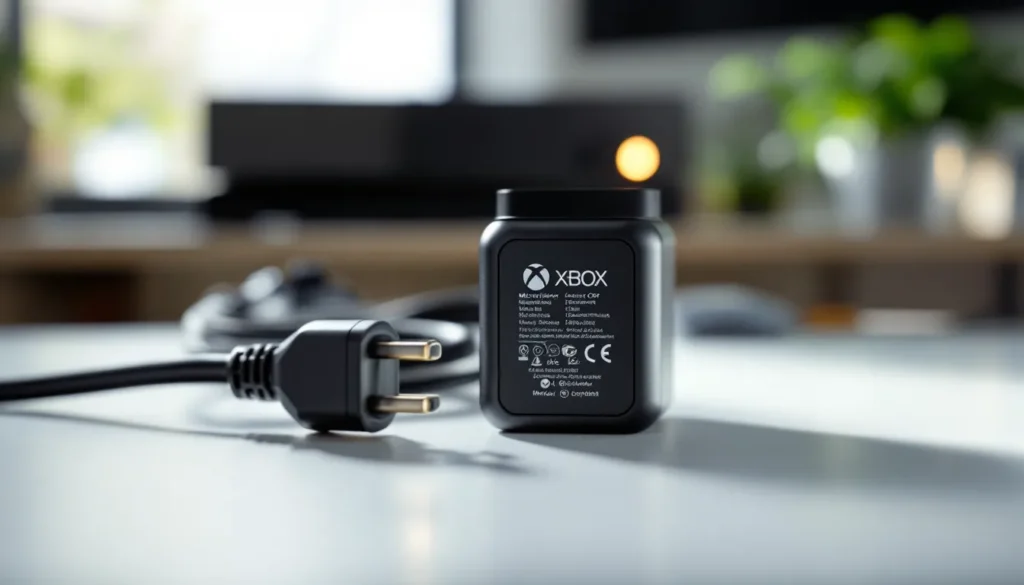
For the Xbox Elite Controller or rechargeable models, plug into a USB charger for at least 2 hours. Some rechargeable controllers won’t show full functionality until they’ve been charged from completely dead.
Optimizing Your Xbox Controller Performance
Once your controller is connected and working, fine-tuning its performance can improve your gaming experience, especially in competitive titles.
Controller Updates and Firmware Management
Microsoft regularly pushes firmware updates to address compatibility issues, add features, and fix latency problems. Staying current is crucial:
- Check for updates regularly. Connect your controller via USB to your Xbox One and navigate to Settings > Devices & Connections > Accessories. Select your controller and look for a firmware version number. If an update is available, the option to install will appear.
- Update only when docked. Always keep the USB cable connected during firmware updates. A disconnection mid-update can brick your controller.
- Know your firmware version. As of March 2026, the latest Xbox One controller firmware is in the 5.x series. If you’re still running 4.x, you’re potentially missing critical stability improvements released throughout 2024-2025.
- Keep your console updated too. Xbox One system updates often include controller driver improvements. Go to Settings > System > Updates to check.
According to resources like How-To Geek’s gaming setup guides, keeping peripherals updated is one of the most overlooked but effective ways to solve obscure connection and performance issues.
Best Practices for Connection Stability
These habits prevent problems before they start:
- Restart your console weekly. Even with good maintenance, the Xbox One’s connection stack can accumulate temporary data that slows pairing. A full restart clears this.
- Keep controllers away from heat sources. Extended exposure to heat (above 95°F) degrades the internal wireless chipset over time. Store controllers in a cool environment.
- Use official Microsoft batteries or charging cables. Third-party batteries sometimes have lower voltage, causing intermittent connection loss. Official Xbox rechargeable batteries are tested for compatibility.
- Avoid connecting too many wireless devices. Four controllers, a wireless headset, and other 2.4GHz devices all competing for bandwidth can cause interference. If you’re having trouble, disconnect any non-essential wireless devices.
- Position the console centrally. If your Xbox One is in a corner or closet, wireless signal weakens. A central location in your gaming room ensures stronger signal to all controllers.
Advanced Connection Tips for Multiple Controllers
Supporting multiple controllers opens up split-screen gaming and competitive party play. Setting them up correctly requires a bit more care.
Pairing Additional Controllers
Adding a second, third, or fourth controller follows the same basic process, but sequence matters:
- Pair your primary controller first. Make sure your main controller is fully connected and working before adding others.
- Hold the pairing button on the second controller for 3-5 seconds until it’s flashing.
- Press the console’s pairing button (not the guide button, the dedicated pairing button on the front of the Xbox One) and hold for 3 seconds.
- Wait for the handshake. The second controller should pair within 20 seconds. The Xbox button will stop flashing when complete.
- Repeat for additional controllers. Each controller pairs individually: you don’t need to re-pair existing ones.
All four controllers don’t need to be the same model or even from the same generation. An original 2013 Xbox One controller pairs fine alongside a 2023 model. But, they all must use the Xbox Wireless protocol. Standard Bluetooth-only controllers (some older third-party models) won’t work with Xbox One.
For fighting games and party games, having backup controllers is essential. The Flight Simulator Controls setup becomes much more complex with multiple controllers, but for standard multiplayer games, the Xbox handles four simultaneous controllers seamlessly.
Managing Controller Interference
With multiple controllers active, interference becomes a real concern:
- Space them out. Don’t rest all four controllers in a cluster. Spread them around the room so their wireless signals don’t collide.
- Check for RF interference. If you suddenly have issues when all four controllers are active but none when using one or two, interference is the culprit. Microwaves, cordless phones, and older wireless routers all operate on 2.4GHz. Identify and move them away from the gaming area.
- Test each controller individually first. Before assuming you have a multi-controller interference problem, verify each controller pairs cleanly on its own.
- Update all controllers to the same firmware version. If you’re mixing old and new controllers, ensure they’re all on the latest firmware. Outdated controllers can introduce compatibility glitches when used simultaneously.
For esports or competitive gaming with multiple players, some teams invest in wired controllers for consistency. A mix of wired and wireless controllers (one player wired, three wireless) is also a valid approach that balances flexibility with eliminating variable latency from one critical player’s perspective.
Resources like PCMag’s peripheral reviews benchmark controller latency across different connection methods if you want exact numbers on how wired vs. wireless performance compares for your specific game. For most gamers, the difference is negligible, but esports players sometimes notice the distinction.
One often-missed detail: the Xbox One controller adapter is useful if you want to extend reach beyond 20 feet or need connectivity in a room far from your console. These adapters provide a wired connection through extension cables, solving range issues in large living rooms or setups where the console is in an entertainment center far from where you’re sitting.
Conclusion
Connecting your Xbox controller to Xbox One is a simple process once you understand your options. Whether you choose the quick pairing button method, navigate through settings, or go wired via USB, you now have a complete roadmap for getting connected. Troubleshooting common issues, unrecognized controllers, intermittent disconnections, or battery problems, becomes straightforward when you know where to look and what to check. Keep your firmware updated, manage interference proactively, and you’ll maintain stable, responsive controller performance throughout your gaming sessions. For multiplayer setups or competitive play, the same principles scale to support multiple controllers simultaneously. With this guide in your back pocket, you’re equipped to handle any Xbox One controller connection scenario that comes your way.